
Appearance
Customers
▶ Watch — a quick walkthrough of customers
The Customers screen (/crm/customers) is your customer list. Each profile pulls together everything about that shopper — contact details, full purchase history, loyalty, and any store credit or balance owed.
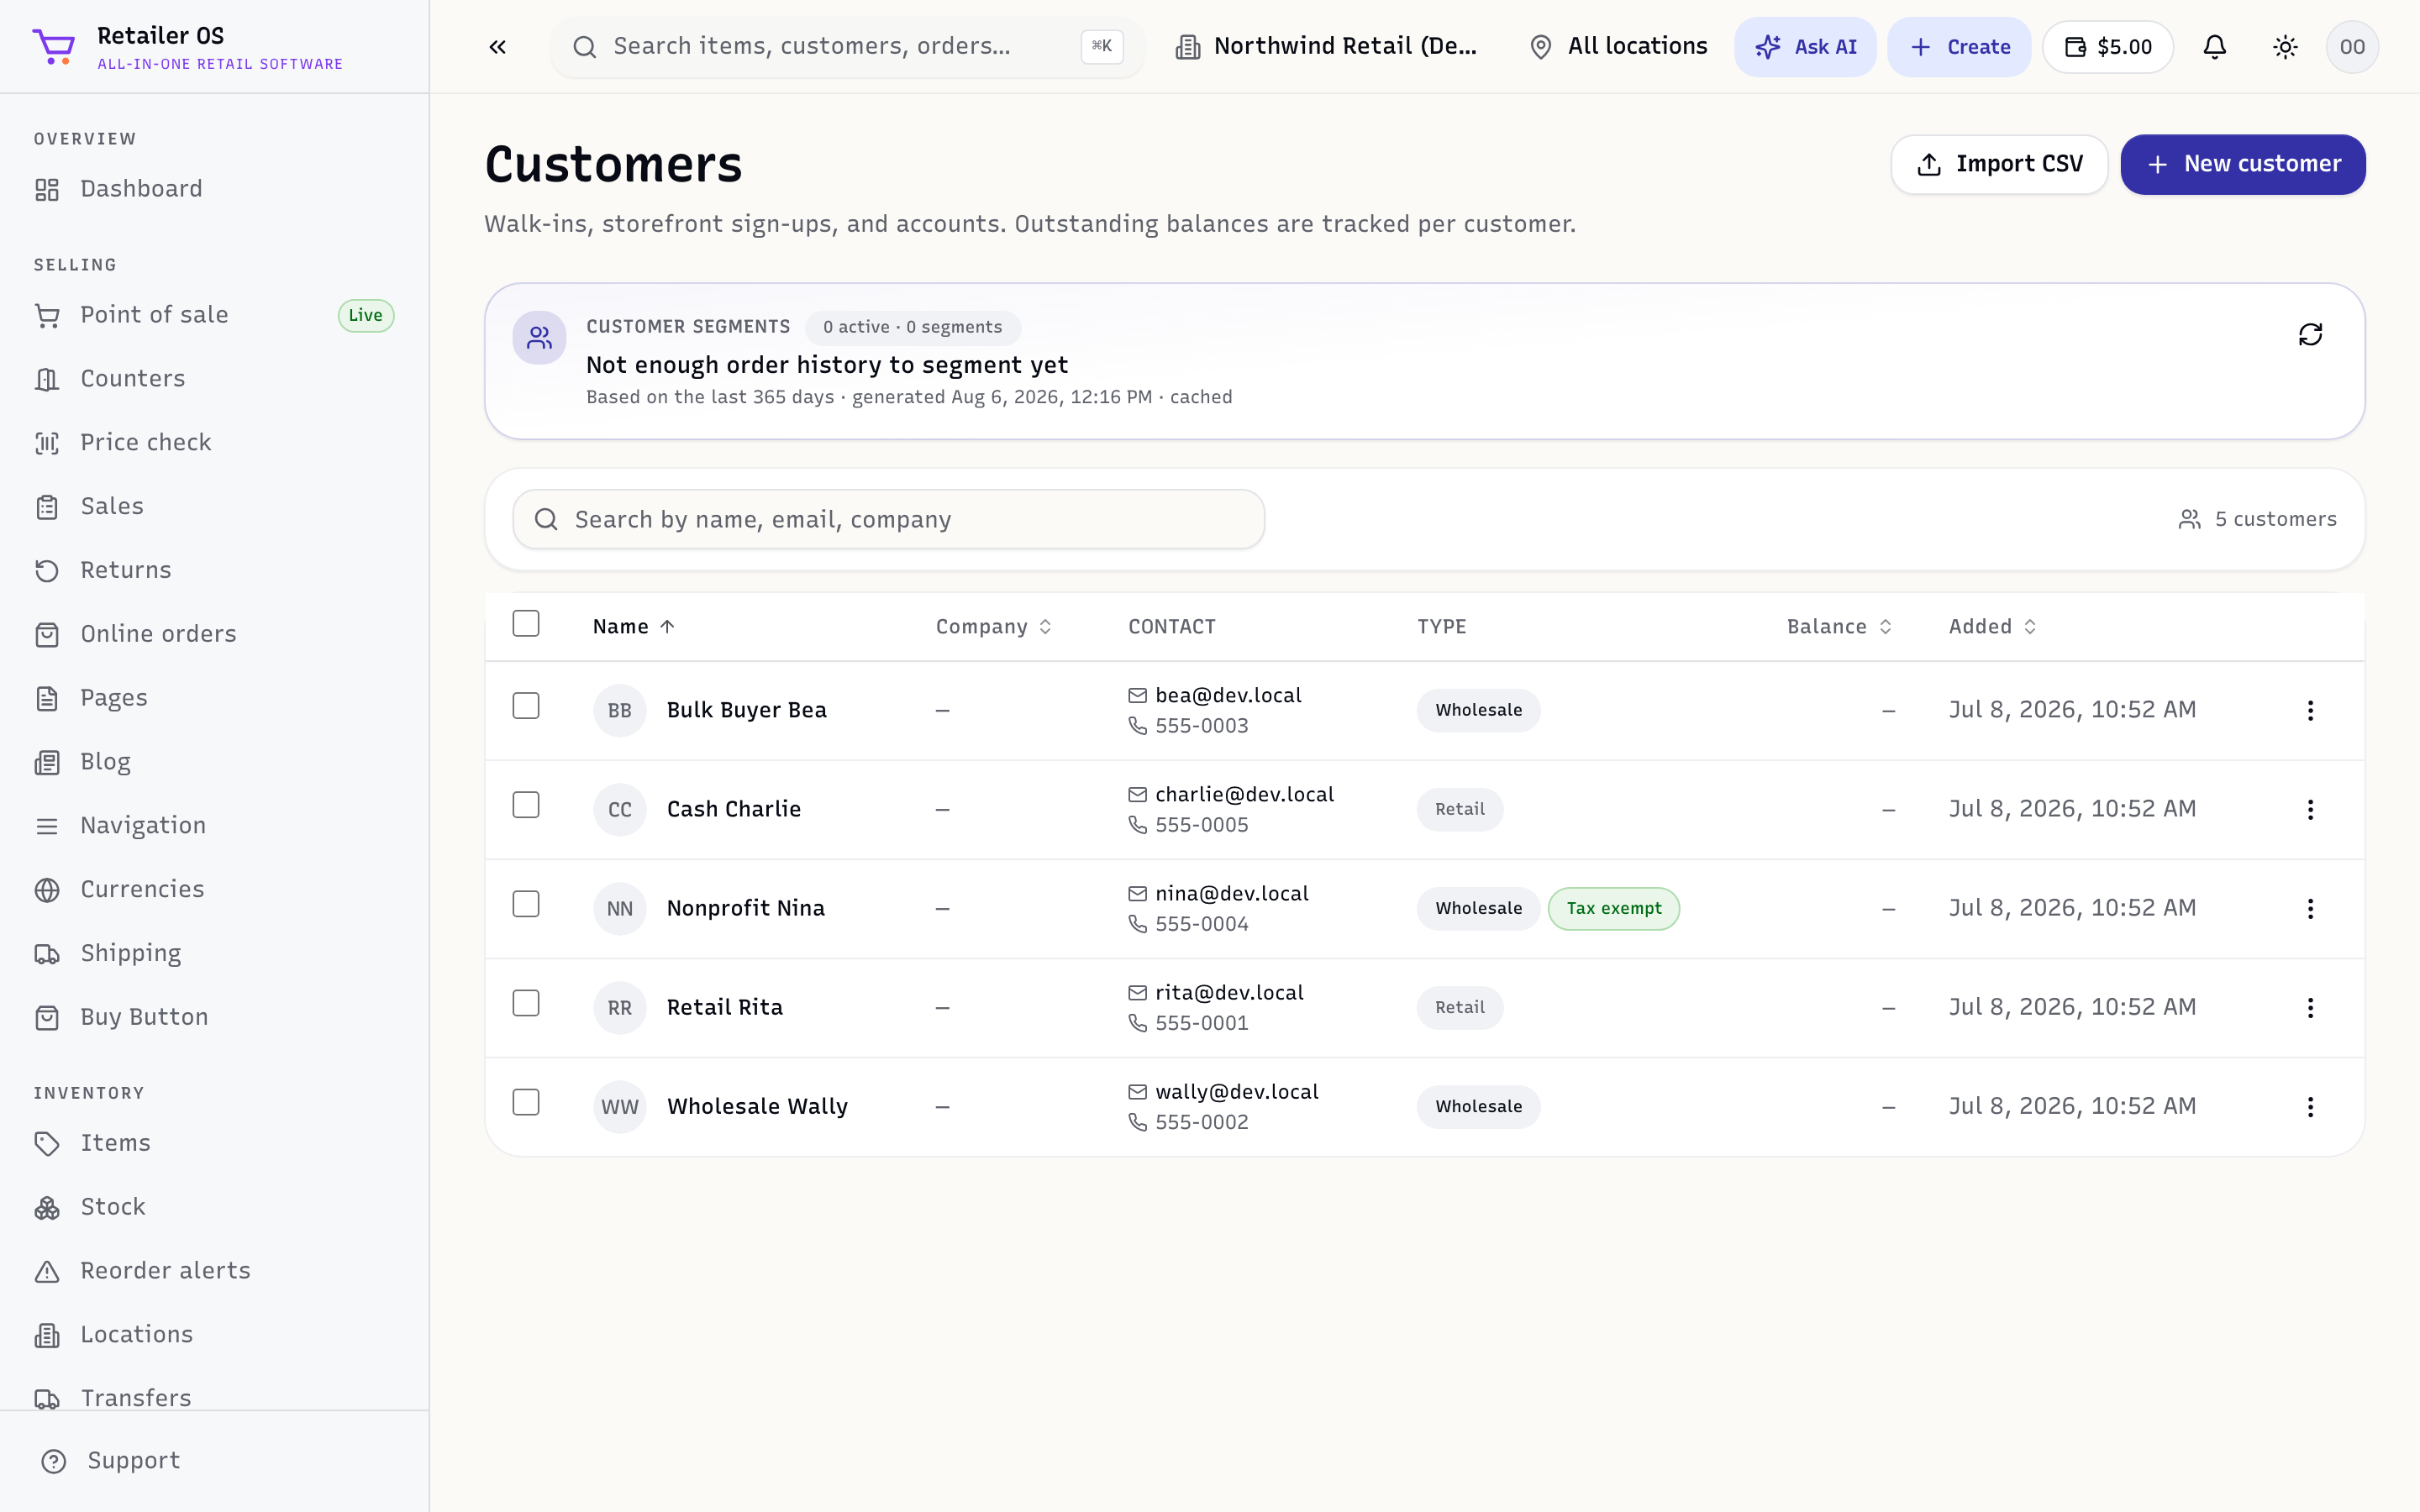
Add a customer
- From Customers → New customer, enter their name and contact details; or
- From a POS sale, tap Add customer and create them on the spot.
Customer type
Each customer's Customer type sets the prices they pay:
- Retail pays the retail price.
- Wholesale 1 pays each item's Wholesale Price.
- Wholesale 2 pays an item's Tier 2 wholesale price, or its Wholesale Price when it has none.
Choose it when you add the customer, or later on their profile (Edit → Customer type). The register charges it when you attach the customer to a sale.
If the customer has wholesale access to your online store, they pay the same tier there, and changing their type changes their online prices too. Changing the type doesn't give them online wholesale access by itself.
The customer profile
Open a customer to see:
- Purchase history — every sale across the counter, online, and marketplaces.
- Loyalty — points and tier (see Promotions & Loyalty).
- Store credit / balance — a credit they can spend, or an amount they owe (see Receivables & store credit).
- Statement — a printable account statement (
/crm/customers/:id/statement).
Attach a customer to a sale
Adding a customer to a sale (in POS or online) links the purchase to their history, earns and lets them redeem loyalty, and — if they have terms — lets them pay on account.
TIP
Even a name and phone number is enough to start building history. The more sales are attributed to real customers, the more useful your top customers report and email targeting become.
Marketing email consent
Email campaigns and automations go only to customers who have agreed to marketing email. To record that a customer agreed:
- When you add them, tick Agreed to marketing emails — in Customers → New customer, or when you add a customer at the register.
- For an existing customer, open their profile and, under Marketing email, click Record consent.
Retailer OS saves the date and where the consent came from, for example "In store, recorded by staff". To stop, click Withdraw consent.
A customer who clicked Unsubscribe in an email shows as Unsubscribed, and campaigns skip them. Resubscribe them only if they ask you to: click Resubscribe and confirm they asked. An address that bounced, or that reported one of your emails as spam, can't be resubscribed.